
Roof leaks are a common nightmare for homeowners, often starting as minor issues before developing into costly repairs requiring extensive work. By recognising the warning signs early, you can address roof issues before they compromise your home’s structure and safety. This guide focuses specifically on how to spot early signs of trouble in your roof’s most vulnerable areas – flashing and valleys – allowing you to take action before a small leak becomes a major problem.
Table of Contents
What are the common causes of roof leaks in flashing and valleys?
Understanding what causes roof leaks is crucial for any homeowner looking to protect their home. Flashing and valleys are particularly susceptible to damage and deterioration over time. Flashing refers to the thin metal pieces installed at joints, around chimneys, vents, and other roof penetrations to prevent water from seeping into the roof structure. Valleys, meanwhile, are the V-shaped areas where two roof slopes meet, channeling rainwater toward the gutters. Both these areas face tremendous pressure during rainstorms, making them prime locations for leaks to develop if they’re compromised.
How do damaged flashing and valley joints allow water to seep through?
Damaged flashing is one of the leading causes of roof leaks. When flashing becomes cracked, loose, or detached from the roof, it creates gaps that allow water to penetrate the roof structure. Over time, the metal flashing can deteriorate due to exposure to harsh weather conditions, causing it to rust, crack, or pull away from the roof surface. Similarly, the caulking or sealant used to secure flashing may deteriorate, creating openings for water to seep through. In valleys, the metal lining can become damaged or dislodged, allowing water that should be channeled to the gutters to instead seep under the shingles and into your home. This water intrusion often goes unnoticed until significant damage has occurred, which is why early inspection is so important for preventing costly repairs.
Why are roof penetrations like vents and chimneys vulnerable to leaks?
Roof penetrations such as vents, chimneys, and skylights create natural breaks in your roof’s water-resistant barrier, making them particularly vulnerable to leaks. These areas require special flashing to create a watertight seal between the penetration and the surrounding roofing materials. Over time, the flashing around these penetrations can deteriorate, crack, or become loose, allowing water to seep into the roof structure.
Chimneys are especially problematic as they experience significant temperature fluctuations that cause the surrounding materials to expand and contract, potentially creating gaps in the flashing. Vents and skylights can also develop leaks if the flashing wasn’t properly installed or if the seals around them have degraded. Regular inspection of these areas is essential to ensure your roof remains watertight and to spot early signs of a roof leak before significant water damage occurs.
What are the early warning signs of a leaking roof you can spot inside your home?
Being able to identify early warning signs of a roof leak from inside your home can save you thousands in expensive repairs down the line. Many homeowners don’t realize they have roof issues until water damage becomes visible inside, but by this point, the damage to your roof structure may already be extensive.
Learning to recognize these internal indicators can help you address roof leaks before they lead to structural damage requiring a full roof replacement. Regular interior inspections should be part of your home maintenance routine, especially after heavy rainfall or storms that may have compromised your roof’s integrity.
How to identify water stains on your ceiling as indicators of roof leaks?
Water stains on your ceiling are one of the most obvious early warning signs that your roof is leaking. These stains typically appear as discolored patches ranging from light yellow to brown, often in a circular or irregular pattern. If you notice new stains forming on your ceiling, particularly after rainfall, this is a clear indication that water is penetrating your roof somewhere.
The location of the stain can provide clues about the source of the leak – stains near exterior walls might indicate problems with flashing or ice dams, while stains in the center of rooms could point to issues with roof penetrations like vents or damage to valley areas.
It’s important to note that the visible water stain may not be directly beneath the actual leak source, as water can travel along rafters or other roof structures before dripping onto your ceiling. When you spot these stains, it’s crucial to inspect your roof promptly or call a professional to pinpoint the source before the damage worsens and leads to more expensive repairs.
What does mould growth tell you about potential roof issues?
Mould growth inside your home is a serious warning sign that moisture from a roof leak is creating favorable conditions for fungal development. If you notice black, green, or white spots forming on your ceiling or walls, particularly in the upper levels of your home, this often indicates that water is seeping through your roof. Mould doesn’t just signify a roof leak; it’s also a health hazard that can trigger allergies and respiratory problems.
The presence of mould suggests that the leak has been ongoing for some time, as mould typically needs sustained moisture to develop. Areas around roof penetrations like vents, chimneys, or skylights are particularly susceptible to mould growth if the flashing has failed.
Similarly, if valleys are allowing water to seep in, you might notice mould forming along ceiling joints. When you discover mould growth, it’s essential to not only address the roof leak but also properly remediate the mould to protect your family’s health. This two-fold problem underscores why spotting early signs of roof leaks is so important for both your home’s structure and your family’s wellbeing.
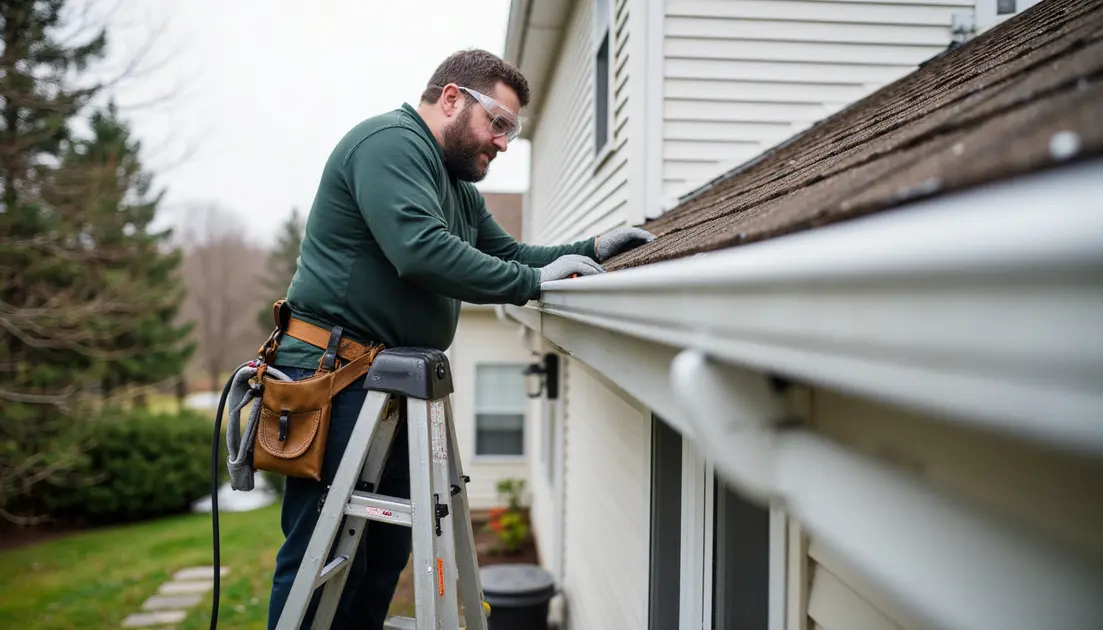
How to inspect the roof for leaks in flashing and valleys before water damage spreads?
Taking a proactive approach through regular roof inspections can save homeowners thousands in costly repairs. Rather than waiting for water stains to appear on your ceiling, learning how to inspect the roof for potential problems allows you to identify issues in flashing and valleys before they allow water to penetrate your home. External inspection should be performed at least twice annually and after major storms to ensure your roof remains in good condition. Catching minor issues early can extend the life of your roof significantly and protect your home from damaging leaks.
What tools do homeowners need for a basic roof inspection?
Conducting a basic roof inspection requires several essential tools to ensure safety and effectiveness. First and foremost, a sturdy extension ladder with stabilizers is crucial for safely accessing your roof. Binoculars provide a way to inspect areas of your roof from the ground, which is particularly important for steep or high roofs where climbing might be dangerous.
A flashlight with a powerful beam helps examine dark areas, especially when checking for signs of water penetration in the attic. Rubber-soled shoes provide better traction if you do need to walk on the roof surface. For closer inspection, a small hand mirror can help view areas under flashing or in tight spaces. A digital camera or smartphone allows you to document any damage or concerning areas for future reference or to show roofing professionals.
Safety equipment should include gloves to protect against sharp edges and a safety harness if you’ll be walking on a steep roof. Additionally, a small pry bar can gently test the integrity of flashing and shingles without causing damage. With these basic tools, homeowners can perform preliminary inspections to spot early signs of potential roof leaks before they cause significant water damage to the home’s interior.
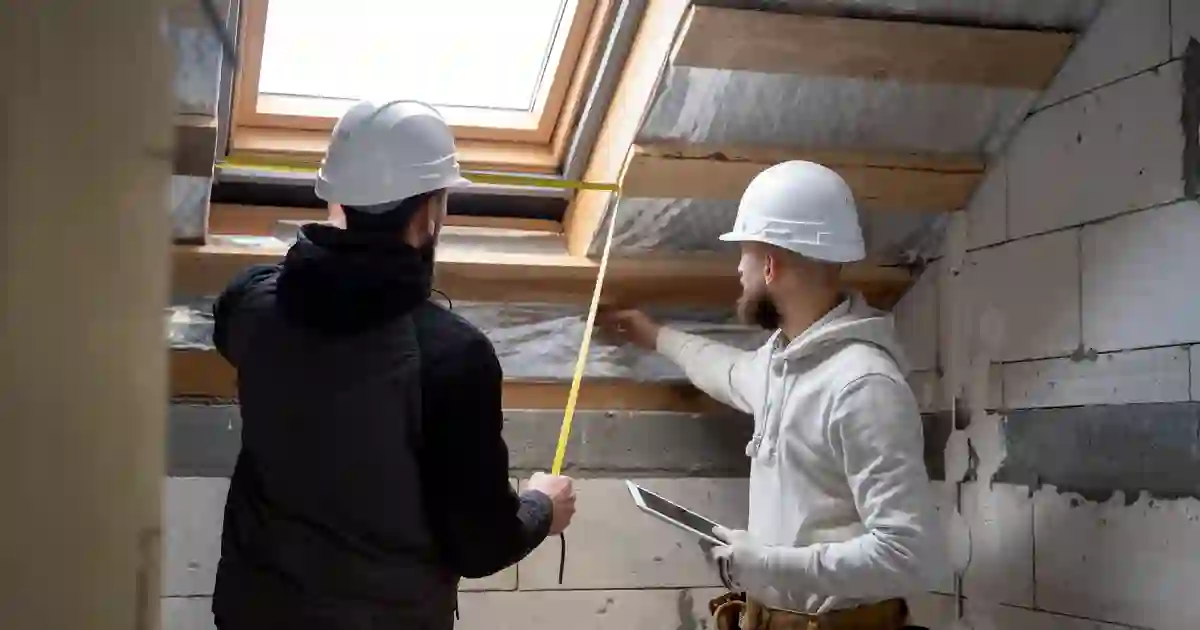
How to safely check flashing around chimneys, skylights, and vents?
Checking flashing around roof penetrations requires careful attention to detail and safety precautions. Begin by visually inspecting the flashing around chimneys, skylights, and vents from the ground using binoculars if possible. Look for signs of rust, gaps, or flashing that appears to be pulling away from the roof or the penetration it’s meant to protect.
If ladder access is necessary, ensure the ladder is secured on level ground and extends at least three feet above the roof edge. When on the roof, move carefully to avoid damaging shingles. Examine the flashing closely for signs of deterioration – rust spots, cracks, or missing pieces of flashing are clear indicators of potential leak points. Pay particular attention to the sealant where flashing meets the chimney, vent, or skylight, as this is often the first area to fail.
Check for cracked caulking or areas where the sealant has pulled away, creating gaps that allow water to seep beneath. Gently press against the flashing (wearing gloves) to see if it moves easily, which would indicate it’s become loose. For metal flashing around chimneys, inspect the step flashing pieces for proper overlap and secure attachment to both the chimney and roof. Remember that damaged flashing is one of the most common causes of roof leaks, so thorough inspection of these critical areas can help prevent water damage before it begins.
How to pinpoint the exact source of roof leaks when you suspect a leak?
When you suspect your roof is leaking, finding the precise source can be challenging but crucial for effective repairs. Water can travel significant distances from the entry point before becoming visible inside your home, making leak detection something of a detective process. Understanding how to trace water pathways and identify the true origin of a leak will help ensure that repairs address the actual problem rather than just treating symptoms. This methodical approach saves both time and money by preventing repeated repair attempts and continued water damage.
Why the visible water damage location may not be the actual leak source?
A common misconception among homeowners is that the spot where water appears inside the home directly corresponds to the location of the roof leak. In reality, water that penetrates the roof often travels along rafters, trusses, or other structural elements before dripping onto your ceiling or walls. This means the visible water stains might be several feet—or even rooms away—from the actual entry point on the roof. Water follows the path of least resistance, moving horizontally along flat surfaces before gravity pulls it downward.
For instance, water might seep through damaged flashing around a chimney, travel along the underside of the roof deck, run down a rafter, and finally drip onto your ceiling in what seems like an unrelated location. Additionally, the slope of your roof can cause water to enter at one point but flow to a lower section before penetrating the interior. This misdirection often leads homeowners to repair the wrong area, allowing the true source of the leak to continue causing damage.
Understanding this water migration principle is essential when trying to pinpoint the exact source of roof leaks and explains why professional leak detection methods sometimes involve tracing water paths backward from the visible damage to identify the actual point where water is able to penetrate your roof’s protective barrier.
Conclusion
In conclusion, effectively spotting roof leaks in flashing and valleys before they spread is crucial for maintaining the integrity of your home. By being vigilant and conducting regular inspections, you can prevent costly damage and ensure the longevity of your roof. For expert assistance, consider Benchmark Roof Reports’ building and roof inspection service, where our experienced professionals will provide you with a thorough assessment and peace of mind. Contact us today to schedule your inspection and protect your investment!
Frequently Asked Questions
What are common sources of leaks in roof flashing and valleys?
Common culprits of roof leaks include damaged flashing, clogged downpipes, and wear and tear that can occur over time, which can lead to further roof damage.
How can I prevent further damage from roof leaks?
To prevent further damage, regularly inspect your roof for signs of leaks, fix any leaking areas promptly, and consider calling in a professional for thorough roof repairs.
What should I do if I notice water backing up in my roof valleys?
If you notice water backing up, it’s crucial to address it immediately; ensuring that downpipes are unclogged and fixing roof leaks can help keep your home safe and dry.