Picture this: a Melbourne homeowner notices a water stain creeping across the ceiling after every heavy downpour. They’ve had the gutters cleaned twice. A neighbour even patched what looked like a cracked tile. Still, the leaks return.
The real problem isn’t the gutters or the tile—it’s built into the roof itself. The roofing angle is too shallow for the corrugated metal profile installed on it. During heavy storms, especially when wind drives rain sideways, water backs up beneath the laps instead of draining away properly.
Pitch problems often hide behind more obvious symptoms. By the time the damage shows up inside the home, the repair bill can be far bigger than expected.
Your roofing angle—also known as roof pitch or roof slope—is one of the most overlooked specifications on any home. It affects how quickly water drains off the roof, which roofing materials are suitable, and whether the roof meets Victorian building requirements.
By the end of this article, you’ll know what pitch means, how to measure it safely from the attic or ground, how to use a pitch chart to convert your readings, and when it’s time to bring in a licensed inspector for a certified assessment.
Table of Contents
What roofing angle actually means (and why it isn’t just a number)
Roof pitch is basically how steep a roof is. More specifically, it’s the amount the roof rises compared with how far it runs horizontally.
Roofers usually express it as rise over run. A 6:12 pitch, for example, means the roof rises 6 centimetres for every 12 centimetres it moves across. Some people call it roof slope. Others say roof gradient. Whatever the label, it comes back to the same calculation.
A 6:12 pitch is about 26.6 degrees. It also equals a 50 per cent slope. Same roof, different ways of describing it.
This matters more than it might seem. A manufacturer might list a minimum pitch in degrees. A drainage engineer could talk in percentages. Meanwhile, the builder ordering materials will probably use rise:run. On one job, you may need to understand all three.
Flat, low, medium and steep: where does your roof sit?
Australian roofs fall into four practical categories. Flat roofs run from 0 to 5 degrees and include commercial warehouses, verandahs, and parapet-roofed buildings. Low-pitch roofs, between 5 and 18 degrees, cover skillion extensions, industrial sheds, and contemporary residential additions. Medium-pitch roofs from 18 to 30 degrees describe most Melbourne brick-veneer homes, with 22.5 degrees being the single most common roofing angle in suburban Victoria. Steep roofs above 30 degrees are the territory of Federation homes, Queenslander-style builds, and attic designs.
The category your roof falls into determines which materials you can legally use, how your drainage performs in a storm, and what any future repair will cost in labour and access equipment. That’s why getting a confirmed measurement matters before you do anything else.
How to measure your roof pitch safely
The good news is that you don’t need to get on the roof to get a usable measurement. Three methods work well for homeowners, and each has a slightly different accuracy profile.
Measuring your roofing angle from the attic
Head into the roof cavity and find a common rafter. Hold a 600–900mm spirit level against the underside of the rafter and centre the bubble so the level sits truly horizontal. Using the standard rise-over-run method common in the Australian roofing trade, mark the 300mm (12in) point along the level from where it touches the rafter, then measure vertically from that mark up to the underside of the rafter. If that vertical measurement reads 175mm (7in), your pitch is 7:12. This method gives a reliable, direct result with no roof access required.
A few safety basics apply. Use crawl boards rather than stepping between ceiling joists, watch for exposed wiring and protruding nails, and take a torch. Never enter an attic space with inadequate flooring or in extreme heat. The attic method is accurate precisely because you’re measuring the actual framing, not estimating from a distance.
Reading the gable end from the ground
Stand directly in front of the gable end, not at an angle. Establish a horizontal reference using a level or framing square, then measure a horizontal run along the gable face and the corresponding vertical rise. Scale both figures to a 12-unit run: if you measured 24cm of rise over 48cm of run, that’s a 6:12 pitch. A camera-based protractor app can supplement this by letting you aim your phone at the roofline and read the angle in degrees, which you then convert using the pitch-to-degrees formula covered in the next section.
Camera-based readings from the ground are estimates, not precision measurements. Lens distortion and viewing angle introduce error, so treat them as a cross-check rather than a primary source. They’re useful for a quick sanity check, but you wouldn’t order materials based on them alone.
Using a smartphone inclinometer
Place the phone’s long edge against a rafter in the attic, read the angle in degrees, and convert it using 12 multiplied by the tangent of that angle. A reading of 26.6 degrees gives you a 6:12 pitch. This is a fast, convenient tool, but treat it as a cross-check rather than a standalone measurement. Calibration drift and surface irregularities can affect the reading, and for insurance claims or material orders, you want two methods pointing to the same answer.
Converting pitch to degrees and percentage: the quick-reference pitch chart
The conversion between pitch formats comes down to one relationship. The angle in degrees is the inverse tangent (arctan) of rise divided by run, this is the standard pitch-to-degrees calculation. For a 5:12 pitch, that’s arctan(5 divided by 12), which lands at 22.6 degrees: the roofing angle most common on suburban Melbourne homes. Percentage slope is even simpler: divide rise by run and multiply by 100. A 6:12 pitch is a 50 per cent slope.
The pitch chart below covers the most commonly encountered pitches. Keep it handy when you’re comparing a measurement to a manufacturer’s minimum or briefing a contractor.
| Rise:run | Degrees (approx.) | Slope % |
| 3:12 | 14.0° | 25% |
| 4:12 | 18.4° | 33% |
| 6:12 | 26.6° | 50% |
| 9:12 | 36.9° | 75% |
| 12:12 | 45.0° | 100% |
Online roof pitch calculators handle non-standard ratios well, but always verify the result against your on-site measurement before placing a material order. A calculator is only as good as the number you feed into it.
Minimum pitch requirements for Australian roofing materials
Pitch isn’t just an aesthetic preference. It determines which materials are legally compatible with your roof under Australia’s National Construction Code and relevant Australian Standards. Getting this wrong doesn’t just void a warranty; it can affect your insurance coverage and create liability in a property transaction.
Metal roofing, tiles and membranes: what each material demands
Corrugated metal profiles, such as Custom Orb® Colorbond, require a minimum of 5 degrees. Trapezoidal profiles like Trimdek® drop to 2 degrees, and concealed-fix standing-seam systems can work from 1 degree with an approved drainage design. Concrete tiles generally require 15 degrees minimum, while most terracotta profiles want 17 to 20 degrees or higher depending on the specific profile. Membrane roofing needs a minimum fall of around 1 degree, though effective drainage in practice typically requires a greater slope than the bare minimum. When the NCC, manufacturer’s instructions, and your engineer all give different figures, the most restrictive number wins every time.
Victorian compliance: NCC, AS 2050 and what it means for your property
Under the NCC’s deemed-to-satisfy provisions, tiled roofs below 18 degrees require sarking across the full rafter length. Between 18 and 20 degrees, sarking is required once the rafter or truss top chord exceeds 4,500mm. Where sarking is installed on a roof below 20 degrees, or on any roof with no eaves overhang, an anti-ponding board must also be fitted along the eaves line. These requirements sit under AS 2050 for tiles and AS 1562.1 for metal sheeting.
This matters practically for pre-purchase inspections and insurance assessments. A tiled roof installed below the minimum pitch without required sarking is non-compliant, and that non-compliance can trigger a coverage dispute with your insurer or complicate a property settlement. These aren’t edge cases; they’re exactly the issues a certified inspection report documents.
What low or steep pitches actually do to your roof
The numbers in a conversion chart don’t capture what actually happens to a roof over time when the pitch works against it. That context makes the difference between a homeowner who acts early and one who inherits a structural repair bill.
Drainage failures, ponding and flashing problems on low-pitch roofs
A shallow roofing angle slows water movement dramatically. During Melbourne’s storm season, even a 30-minute downpour can push water beneath inadequately pitched corrugated iron or through compression-fitted tile edges. Water lingers around laps, flashings, and penetrations, any minor construction tolerance, a slight sag between purlins or a low spot at a valley, becomes a persistent trap. The visible consequences are interior water stains, corroded fascias, and flashing failures at skylights and valleys.
These are precisely the defects that drone photography and thermal imaging can detect before they become expensive structural repairs. Thermal imaging in particular can reveal moisture trapped beneath roofing materials that would not be observable from a standard ground-level visual inspection, making it a valuable tool in the Benchmark Roof Reports inspection process.
Steep pitches: wind uplift, gutter overload and access costs
Steep roofs carry their own set of risks that are easy to overlook. Greater surface area exposed to wind uplift at ridges and edges increases the load on fixings and cappings during high-wind events. Faster runoff can overwhelm standard gutters in a heavy downpour, and any future repair, inspection, or gutter cleaning will cost significantly more because scaffold or harness systems become mandatory. Insulation and ventilation design also becomes more complex in deep attic spaces, which can affect energy performance and compliance under the NCC.
When your roofing angle needs a professional eye
Measuring your own pitch is a practical starting point, and the methods above will get you a usable number with a level and tape measure. A ground-level or attic check has clear limits, though, and there are situations where those limits matter.
What a certified roof inspection actually measures
A professional assessment is warranted in a number of specific circumstances:
- Your measurement falls close to or below a material minimum
- You can see ponding lines, rust staining, or persistent interior damp
- A property purchase means the pitch can’t be confirmed from ground level
- An insurance claim needs documented evidence
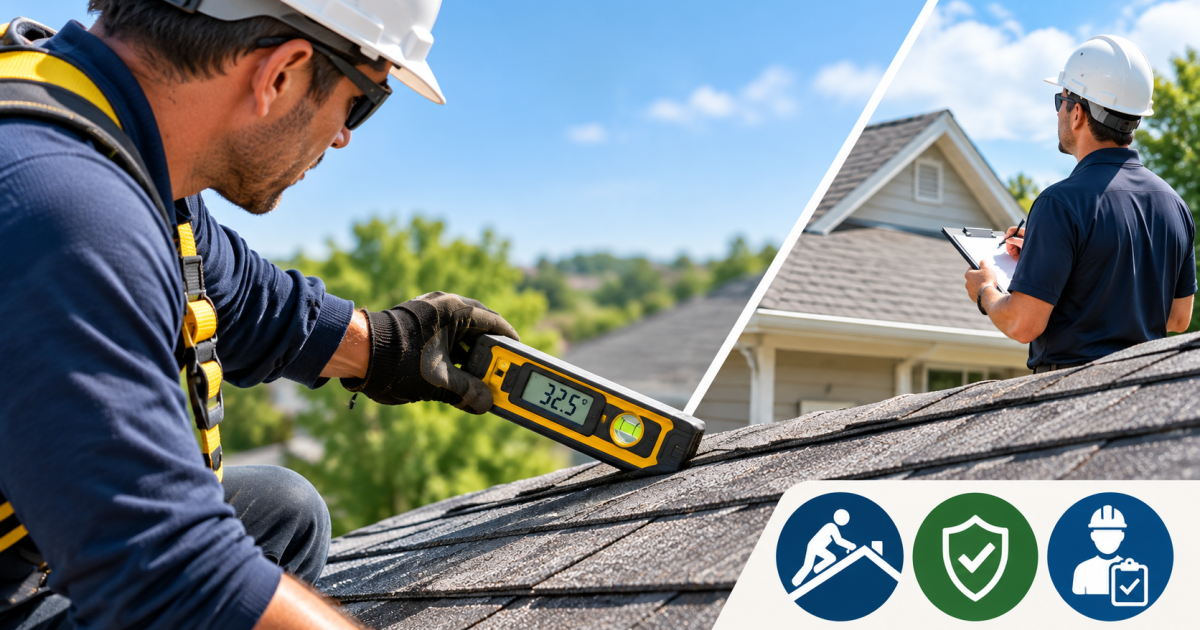
Benchmark Roof Reports uses on-roof pitch gauges, drone photogrammetry, and thermal imaging to build a complete picture, not just the roofing angle, but what that angle has done to the roof over its lifetime. Drone surveys generate accurate 3D geometry of roof planes, ridges, and valleys without requiring anyone to walk on a fragile or steep surface.
A Melbourne case study: low-pitch metal roof and a recurring leak
A Werribee homeowner with a corrugated metal roof installed at approximately 3 degrees had experienced repeated wet-weather leaks and completed two failed DIY patch jobs before calling Benchmark Roof Reports. The inspection confirmed the roofing angle sat below the 5-degree minimum for the corrugated profile installed. Thermal imaging identified moisture ingress beneath the sheeting at two locations not visible to the naked eye, and drone photography documented flashing failures at the ridge cap.
The certified inspection report provided documented evidence that supported the homeowner’s insurance claim and a detailed scope of works for re-roofing to a compliant 5-degree pitch using a concealed-fix profile suited to the low-slope application. The thermal imaging evidence was instrumental in demonstrating a material defect rather than a maintenance issue, the kind of distinction that can determine the outcome of a claim. Results will vary depending on individual circumstances and insurer assessment.
How a certified report supports insurance and pre-purchase decisions
A certified roof inspection report from Benchmark Roof Reports documents pitch measurements, material specifications, compliance gaps, and defect evidence in a format that can be used to support insurance claims and conveyancing enquiries. For property buyers, it can be the difference between negotiating a price reduction and inheriting a non-compliant roof. For existing owners facing an insurer’s pushback on a storm-damage claim, a licensed report with thermal imaging evidence can help resolve disputes that would otherwise drag on for months.
Your roofing angle deserves more than a rough guess
Your roof’s pitch is not a passive architectural detail. It actively controls drainage performance, material compatibility, energy efficiency, and legal compliance with every storm that passes through. A homeowner can measure their roofing angle from the attic or ground with a level and tape measure, and the pitch chart above makes the result immediately useful for comparing against material minimums or briefing a contractor.
When the numbers come back close to a material minimum, when water damage is already visible, or when a property transaction or insurance claim is on the line, a certified inspection from Benchmark Roof Reports gives you documented evidence that holds up. Knowing your roofing angle is the first step, knowing what to do with that number is where a licensed expert earns their place. Get in touch with the team to book a certified roof inspection across Melbourne, Werribee, Epping, the Mornington Peninsula, and greater Victoria.